Changing Your Display Settings on the Mac to Suit your Viewing Needs
Posted by Aitan on 2013 May 22nd
Every Mac Display and External Monitor has what's referred to as a "Native Resolution". This is a screen resolution where each pixel that the computer outputs is equal to a pixel that the LCD panel displays. My particular 15" Macbook Pro has a Native Resolution of 1680 x 1050.
This setup can sometimes be a bit to fine to work in for some, and it's fairly straightforward to increase the apparent size of the display so that everything looks larger.
The sacrifice, you should know, is that the "Real Estate" you have to work with will be reduced. Let's lok at how this is done.
Getting to the Display Preferences
First, let's open System Preferences from the Apple Menu
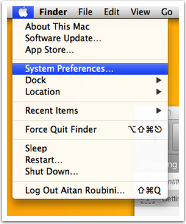
System Preferences
Choose the Displays tab
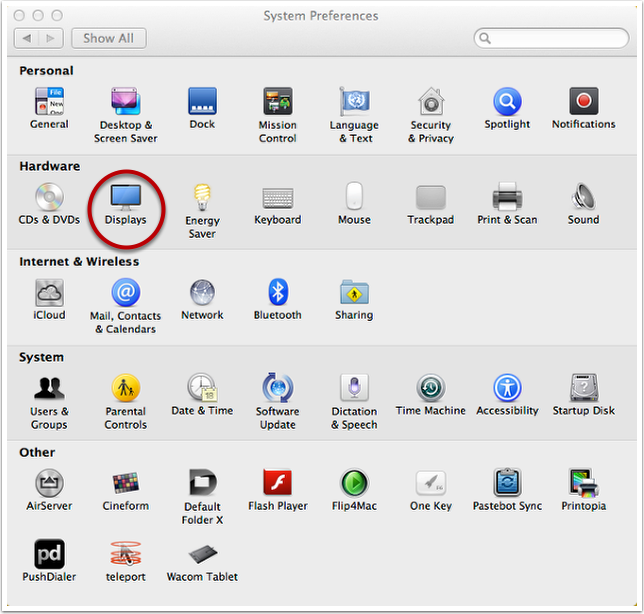
Displays Tab
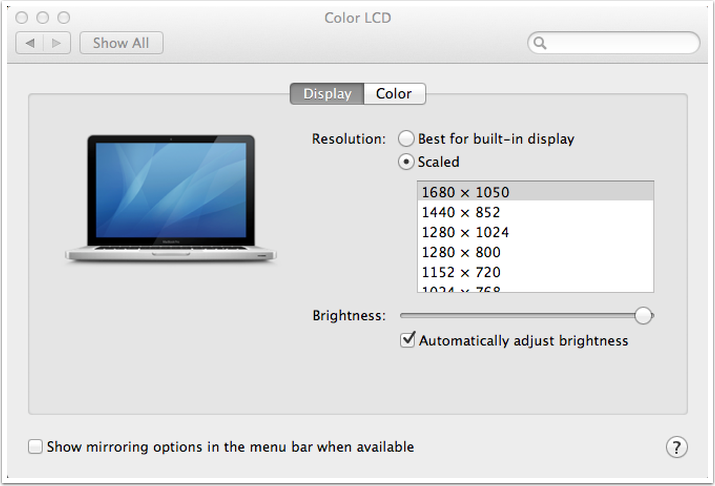
On this screen we can see two main options:
- Best for Built-in Display — Provides one-to-one pixel output for sharp and fine display of graphics and text
- Scaled — A list of alternative display resolutions which will make the output of the computer appear larger, and simultaneously reduce the amount of space you have available to work with.
If you have difficulty viewing type on your computer then choose one of these scaled resolutions. You may need to go through a few of the settings to find one that suits your needs just right.
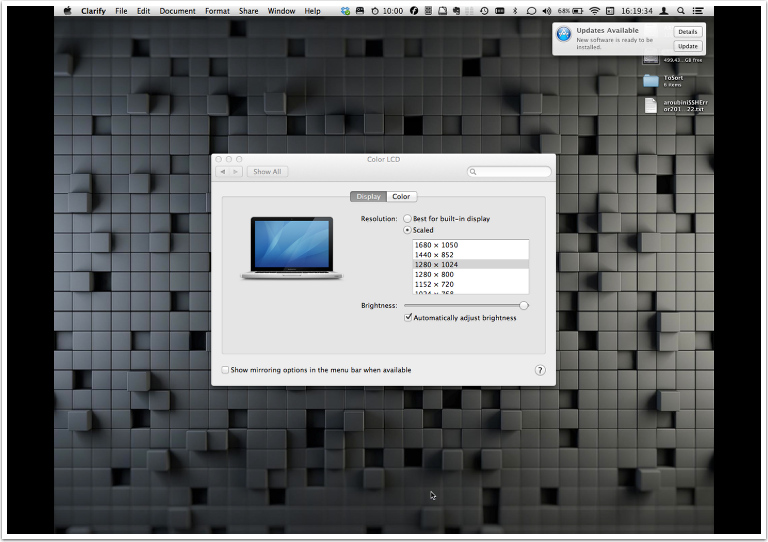
Understanding the Black Bars on the Side
Some resolutions, like 1280 x 1024 shown below, will generate black bars on either side of the display. This merely means that the ratio of the width to the height is not ideally suited to your computer's monitor. In most cases, there will be an alternate resolution which works better. In this example, 1280x800 would fit the ration of the display, removing the presence of the black bars.